Preparing Cabinets for Spray Paint

A whisper of change, a sigh of old wood, yearning for a new coat. The task before us is not merely painting, but a gentle restoration, a careful coaxing of faded surfaces to renewed life. Each brushstroke, each spray, a moment of quiet contemplation.
Can you use can spray paint on cabinets – The process of preparing cabinets for spray paint is a dance of meticulous steps, a patient unveiling of the wood’s potential. It demands care, a steady hand, and an understanding of the materials involved. The reward, however, is a transformation, a breathing of new life into worn surfaces.
Cabinet Preparation Steps, Can you use can spray paint on cabinets
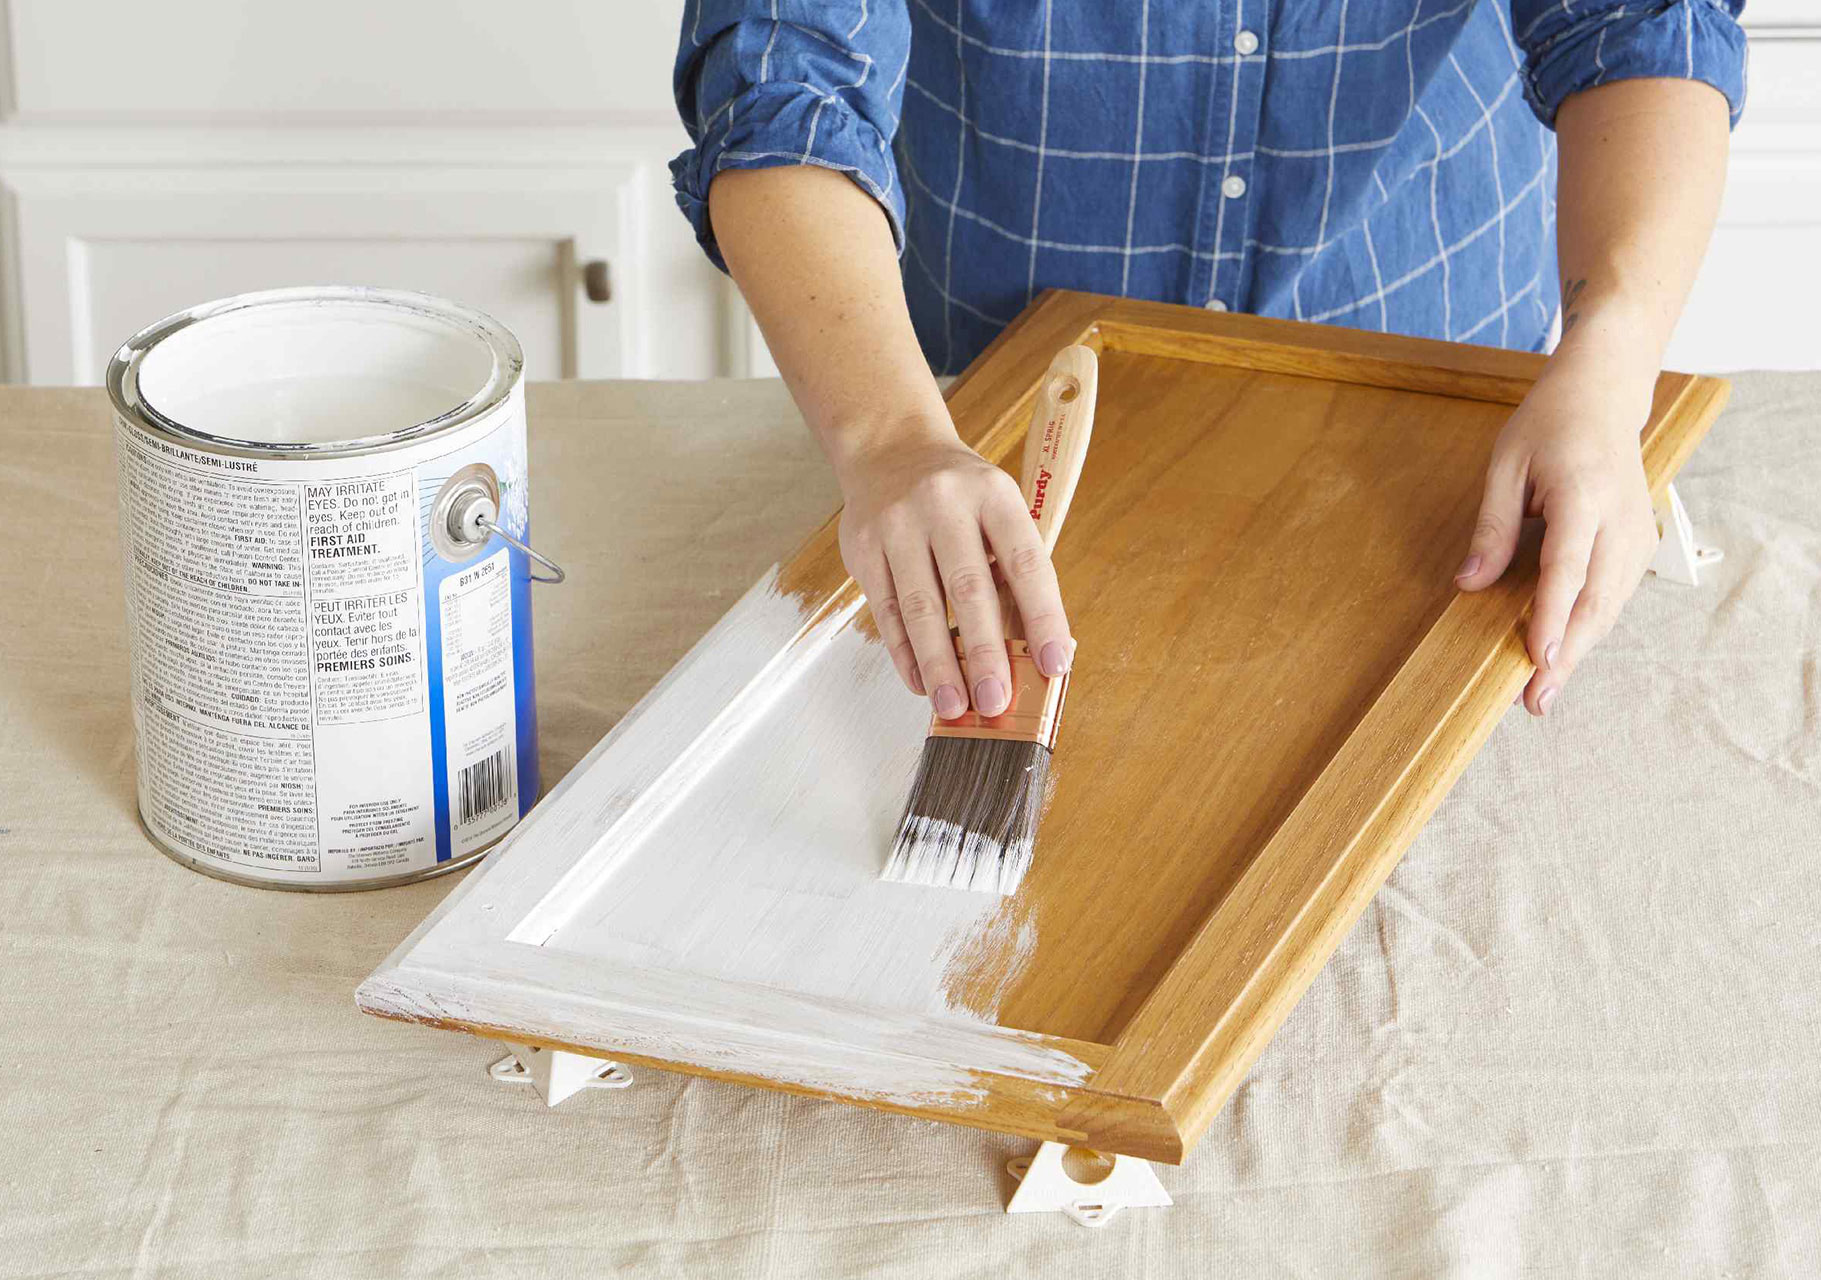
Before the vibrant hues arrive, a thorough preparation is essential. This ensures the paint adheres properly, creating a lasting, beautiful finish. The following steps, when taken with care, lay the groundwork for a successful transformation.
| Step | Description | Tools Needed | Time Estimate |
|---|---|---|---|
| 1. Cleaning | Thoroughly clean the cabinets with a degreaser and a soft cloth or sponge to remove grease, dirt, and grime. Rinse with clean water and allow to dry completely. | Degreaser, soft cloths, water | 30-60 minutes |
| 2. Sanding | Lightly sand the cabinet surfaces with fine-grit sandpaper (180-220 grit) to create a smooth surface and improve paint adhesion. Focus on any imperfections or uneven areas. | Fine-grit sandpaper (180-220 grit), sanding block | 1-2 hours |
| 3. Filling | Fill any holes or cracks with wood filler, allowing it to dry completely before sanding smooth. | Wood filler, putty knife, fine-grit sandpaper | 30 minutes – 2 hours (depending on drying time) |
| 4. Priming | Apply a coat of primer suitable for cabinets, ensuring even coverage. Allow to dry completely before applying paint. | Primer, paintbrush or roller, paint tray | 1-2 hours (plus drying time) |
Primer Selection for Cabinets
The choice of primer is crucial. It acts as a bridge between the wood and the final coat of paint, impacting the longevity and appearance of the finished project. A careful selection considers the specific needs of the wood and the desired outcome.
- Oil-based primer: Offers excellent adhesion and durability, providing a smooth surface for the topcoat. However, it has a strong odor and requires mineral spirits for cleanup.
- Water-based primer: Easier to clean up and with less odor, it provides good adhesion and is a popular choice for interior projects. It may require more coats than oil-based primers for complete coverage.
- Sheen-based primer: Primers with a slight sheen can help to create a smoother surface, especially on older cabinets with imperfections. However, this sheen might be visible through the topcoat.
Masking Techniques
Protecting surrounding areas from stray paint requires careful masking. This prevents frustrating clean-up and ensures a professional-looking finish. Precision and patience are key elements in this phase.
- Apply painter’s tape to all areas you wish to protect, pressing firmly to ensure a tight seal.
- Use plastic sheeting or drop cloths to cover larger areas such as floors and countertops.
- For intricate areas, use masking paper and tape to create precise edges.
- Carefully inspect your masking work before beginning to spray paint to ensure a clean finish.
Spray Painting Techniques and Considerations
:max_bytes(150000):strip_icc()/how-to-spray-paint-kitchen-cabinets-4150186-09-4fb960bb92614d608b13eb789d86d612.jpg)
The scent of paint, a melancholic waltz of solvents and hues, hangs heavy in the air. Each stroke, a whispered memory of a past life, a faded photograph of what once was. This is not just painting; it’s a process of transformation, a delicate dance between intention and outcome.
Spray painting cabinets offers a smooth, even finish, a stark contrast to the brushstrokes of time etched onto the wood’s surface. Yet, this seemingly effortless technique requires precision and patience, a careful orchestration of pressure, distance, and movement. The result, a reflection of the painter’s care, a testament to the quiet strength of meticulous work.
Spray Paint Application Methods
The choice between even coats and multiple thin coats is a pivotal decision, a crossroads where technique meets aesthetics. A single, heavy coat, while tempting in its speed, often leads to runs and drips, a chaotic mess that mirrors the turmoil within. Multiple thin coats, applied with deliberate pauses, allow each layer to dry completely, creating a smooth, even finish, a serene landscape devoid of imperfections.
| Method | Advantages | Disadvantages |
|---|---|---|
| Even Coats (one or two heavier coats) | Faster application, potentially less time consuming. | Higher risk of runs, drips, and uneven coverage; may require more sanding and cleanup. |
| Multiple Thin Coats (three or more lighter coats) | Reduced risk of runs and drips, smoother finish, better color saturation, allows for easier correction of imperfections between coats. | More time-consuming, requires more patience and attention to detail. |
Ventilation and Safety Precautions
The air, thick with the aroma of paint, carries with it a subtle danger. Inhalation of paint fumes can cause dizziness, headaches, and more severe health problems. Protection, therefore, is not a luxury but a necessity, a shield against the unseen enemy.
- Work in a well-ventilated area, preferably outdoors or in a space with excellent air circulation and exhaust fans.
- Wear a respirator or dust mask specifically designed for spray painting to prevent inhalation of paint fumes.
- Wear safety glasses or goggles to protect your eyes from paint overspray.
- Wear protective clothing, such as long sleeves, long pants, and gloves, to prevent skin contact with paint.
- Cover the surrounding area with drop cloths or plastic sheeting to protect from overspray.
Troubleshooting Common Issues
Even with careful planning, imperfections may arise, unwelcome guests in our carefully crafted tableau. Drips, runs, and uneven coverage, these are the ghosts of hasty movements, the echoes of impatience. But even these flaws can be addressed, their presence a reminder of the learning process, a testament to our perseverance.
- Drips and Runs: Caused by applying too much paint at once or painting too slowly. Solution: Use thinner coats, allow adequate drying time between coats, and adjust the spray pattern and distance from the surface.
- Uneven Coverage: Often a result of inconsistent spray distance or movement. Solution: Maintain a consistent distance and speed during application, overlapping each pass slightly.
Types of Spray Paint and Finishes for Cabinets: Can You Use Can Spray Paint On Cabinets
The choice of spray paint and finish is paramount in achieving a durable and aesthetically pleasing result when refinishing cabinets. The wrong selection can lead to disappointment, a faded finish, or chipping paint – a testament to time’s relentless march. Understanding the nuances of each option is crucial for a successful project, a project that reflects the quiet dignity of careful craftsmanship.
The following table details the properties of various spray paint types commonly used for cabinets. Each paint offers a unique balance of durability, drying time, and finish, each a reflection of its inherent character.
| Paint Type | Durability | Drying Time | Finish Type |
|---|---|---|---|
| Acrylic Lacquer | Good to Excellent (depending on brand and number of coats) | Relatively fast, often 30-60 minutes between coats | Gloss, Satin, Matte |
| Acrylic Enamel | Excellent, highly durable and chip-resistant | Slower drying than lacquer, often 2-4 hours between coats | Gloss, Satin, Semi-gloss |
| Oil-Based Enamel | Very durable and long-lasting, excellent for high-traffic areas | Very slow drying time, requiring significantly longer periods between coats (up to 24 hours) and longer overall drying time | Gloss, Semi-gloss |
Cabinet Paint Finishes: A Comparison
The finish you choose profoundly impacts the final look and feel of your cabinets. Each option carries its own strengths and weaknesses, its own subtle story to tell.
Gloss Finish
- Pros: High shine, easy to clean, hides imperfections well.
- Cons: Shows dust and fingerprints easily, imperfections are more noticeable if the surface isn’t perfectly smooth.
Satin Finish
- Pros: Low sheen, durable, easy to clean, hides minor imperfections better than gloss.
- Cons: Not as shiny as gloss, may not be as resistant to scratches.
Matte Finish
- Pros: Minimal shine, hides imperfections well, creates a sophisticated, understated look.
- Cons: More difficult to clean, shows more wear and tear over time than gloss or satin.

